Hi there.
TL; DR:
Is there an Advanced Lighting feature for the GMMK Pro in QMK? Custom lighting per-key or custom lighting depending on which layer(s) are active?
## Backstory to my question
I purchased my GMMK Pro back in 2021 and am now just finally getting around to customizing it, now that I know what it is capable of. I recently hurt my wrist and was looking at alternative ergonomic keyboards that I could use with my wrist at an angle. One of these keyboards was the UHK 2.
## “mouse key” and active layer
The UHK has a dedicated “mouse” key, where the the typical capslock key would be. Holding down the mouse key allows you to use IJKL to take over and move the mouse cursor (similar to WASD in video games), and use left shift as left/right shift as left/right click respectively. This seemed huge for me as it would mean a lot less hand movement for small mouse movements where normal tabbing across the interface wouldn’t be sufficient.
As far as I can tell, these mouse movements aren’t available in Glorious Core 2 (though clicks and mouse wheel, etc, are) . However, these are available in QMK. I won’t go into the trials and tribulations of flashing QMK, including accidentally bricking the whole thing, but that’s a story for another time. I flashed QMK onto my board using the QMK CLI with a VIA_ENABLE = yes and I can now see it in Via. I can customize my keys and everything successfully now, however…
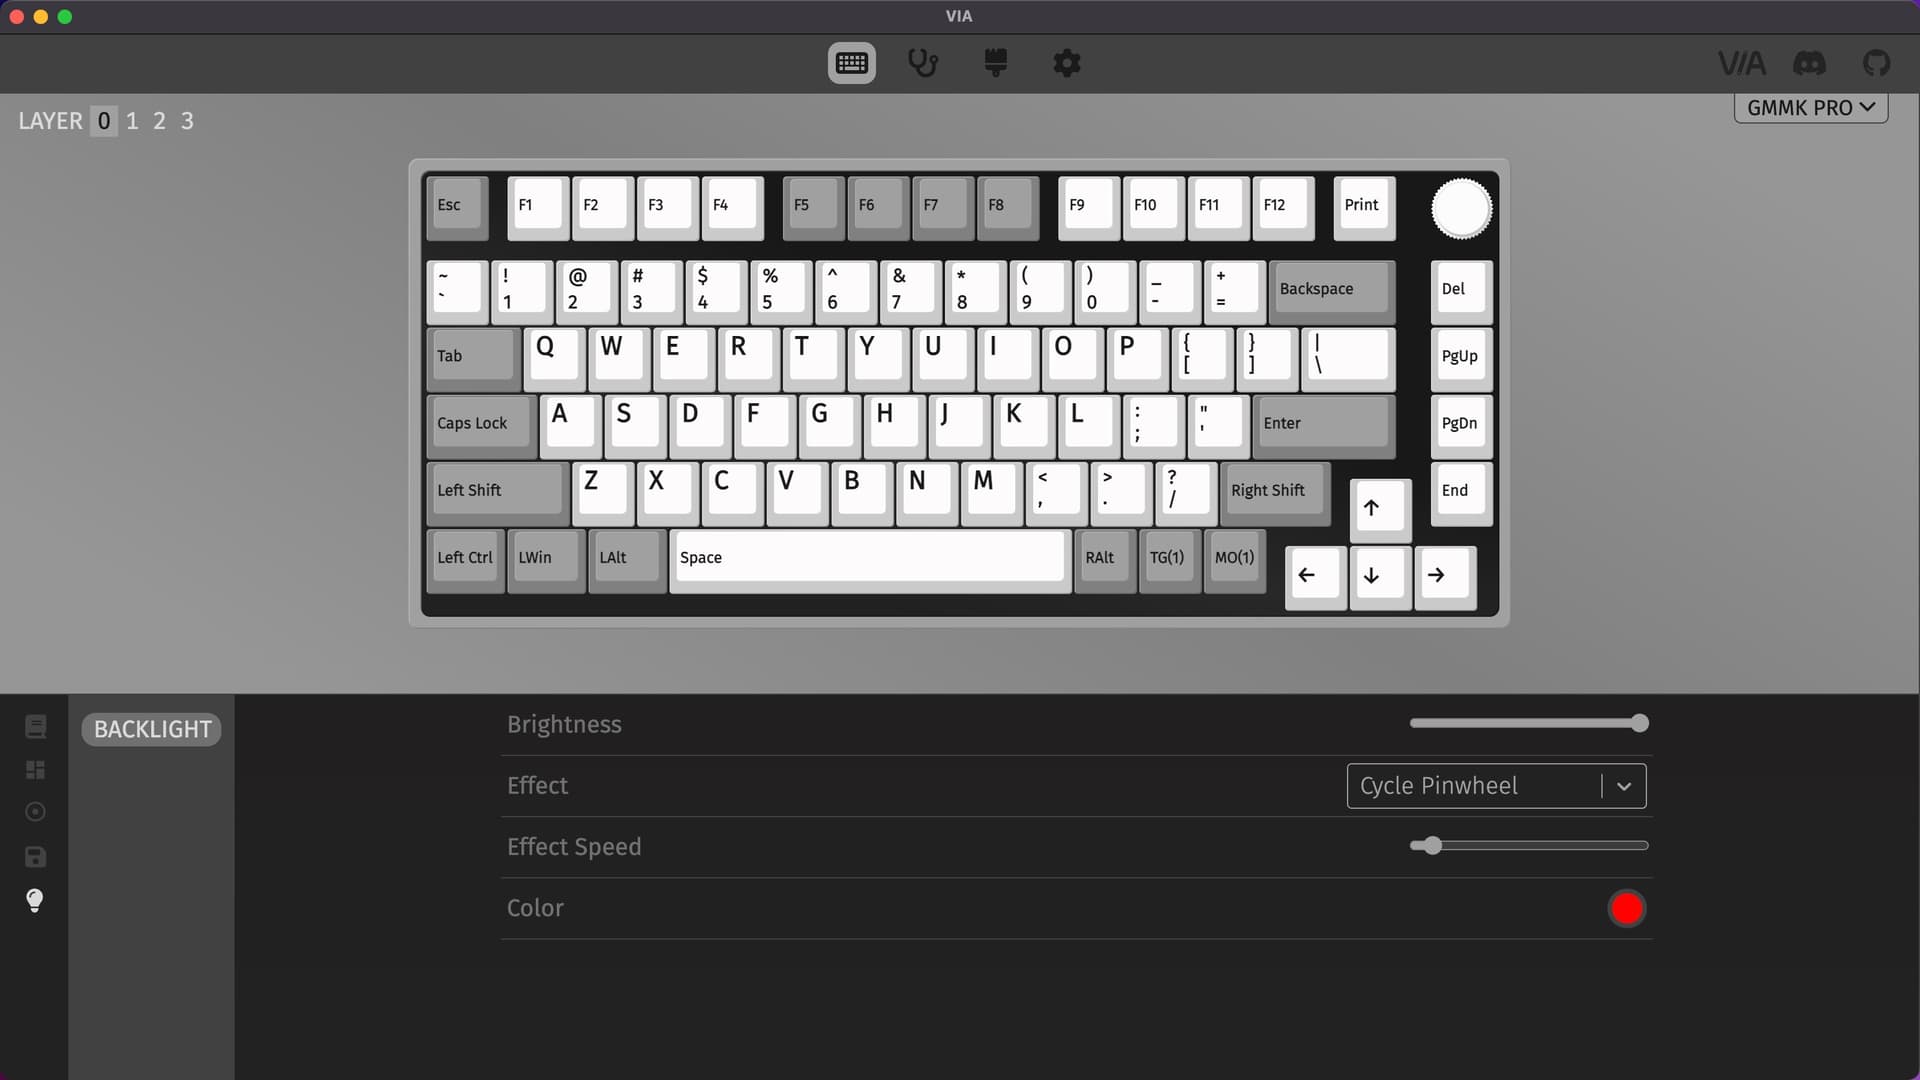
## the real question: advanced lighting with via
The last piece of the puzzle for me is state management. I have my layer 0 which acts as a typical keyboard, as well as layer 1 which acts as my Mouse layer (my custom keymap settings down below). This works great, but I miss having a visual representation of the current state I am in, or what layers are active.
I saw this post on Reddit of another user who was able to do this:

The OP even posted his C code to Github, however I am unfamiliar with C and not sure where to start / don’t want to mess my board up in the process of learning.
I noticed when researching on youtube that other QMK-enabled keyboards, like the keychron 8, has an “advanced” lighting tab where all of these variations are possible:
 .
.
My biggest question: is this feature available with the GMMK Pro? Am I using the wrong keymap.json that has all of this configured? I don’t see anyway to do this in my current setup:

Follow Up Edits:
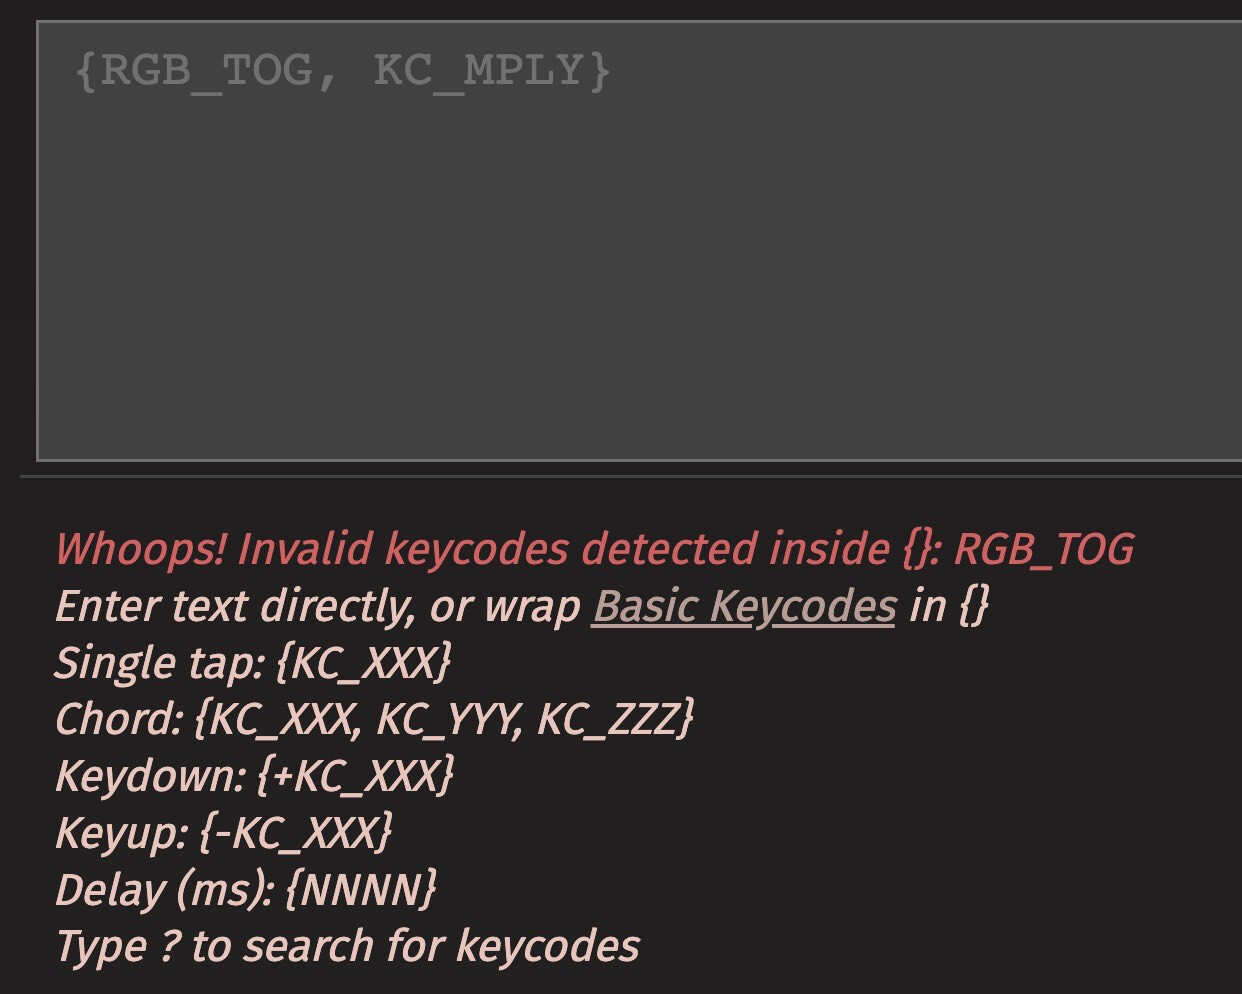
Edit 1: Could I write a macro to potentially do this? instead of just TG(1) could I do RGBg && TG(1) or something? This would toggle the RGB off and then Toggle Layer 1 on. This isn’t pretty but would give me what I am looking for I think.
Edit 2: This doesn’t look possible ![]() Getting a “Whoops! Invalid keycodes detected inside {}: RGB_TOG”
Getting a “Whoops! Invalid keycodes detected inside {}: RGB_TOG”

My layer 1 set up.
- left shift : left click
- i : move mouse cursor up
- j : move mouse cursor left
- k : move mouse cursor down
- l : move mouse cursor down
- right shift : right click
- del : set cursor speed to 0
- pg up: scroll wheel up
- pg dn: scroll wheel down
- end : set cursor speed to 1
- esc : toggle layer 1 off (back to layer 0)